This document will take you step-by-step through the process of setting up the NVR & DVR with the Hik-Connect Cloud P2P Service and setting up the phone app. The process will be shown using the web interface to the NVR. Before starting up the P2P service you should have the following:
- Hikvision Batch Config Tool,
- Hikvision SADP Software tool,
- The IP address of the NVR,
- The username and password for the NVR,
- And a connection to the Internet.
Step 1- Batch Config Tool Discovery of NVR
Open the Batch Configuration Tool and locate the NVR that you want to configure for P2P.
- Locate the NVR in the Batch Configuration Tool
- Double-click on the device to open the connection via a web browser
- Log in
Step 2- IP & Gateway Setup
After logging in to the NVR perform the following steps.
- Using the menu on the left, select Network > Basic Settings
- Check the IP address, subnet mask, and default gateway addresses
- Enter at least one DNS server IP address
- Save
The DNS server address can be that of an internal or external DNS server or the gateway address if it is configured to resolve names to a DNS server. The Google DNS servers can be used and are 8.8.8.8 and 8.8.4.4.
Step 3- Enable HikConnect Service
The next step will be to enable the Hik-Connect P2P service.
- Select Advanced Settings under network
- Select the Platform Access tab
-
Select Platform Access Mode
- Select Hik-Connect if not defaulted from dropdown
- Place a check in the Enable box.
- Agree To The Terms
- When prompted, enter a Verification Code – this is a string of text and/or numbers that you create – must be from 6 to 12 characters. See additional information on the verification code after the video.
Enable Hik-Connect
HIK-CONNECT SERVER ADDRESS
Firmware Update Suggested 1st
The final step will be to check the Hik-Connect P2P Server Address. The default server should populate automatically if your firmware is up to date. Once you’ve verified this:
- Check The Address (dev. or litedev. address)
- Click Save
- Check that the Register Status is Online- Note this may take a few minutes based on the Internet Connection. Refresh the page until you see Online
If your server address is blank see below 1st update your firmware. If this has been done you may Custom Server Setting.
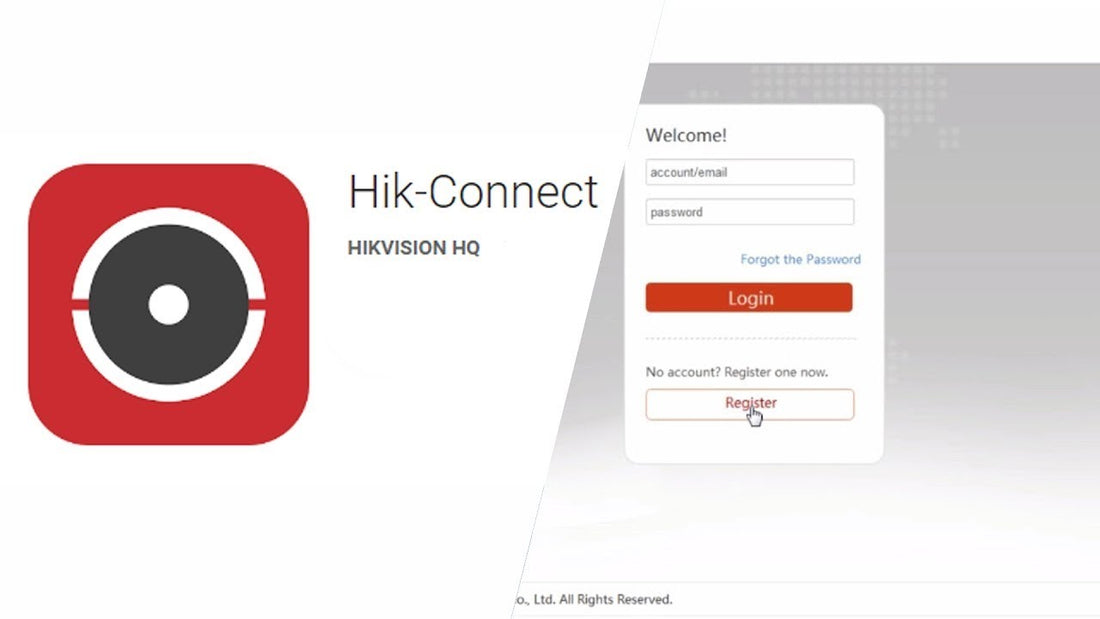
Step 4 – Creating HikConnect Account
Once the device is Online, the next step will be to add the device to your account. If you do not already have an account, one can be created in the Hik-Connect app or you can go to www.hik-connect.com
- Using a browser go to www.hik-connect.com
- Select Register
- Complete the form using an email address or phone number
Step 5- Hik-Connect App Download
The next step will be installing the Hik-Connect App on the phone.
- From your phone, use a browser to navigate to us.hikvision.com
- Select Products then select Software
- Scroll down and select the Hikvision App Store icon.
- Select the Hik-Connect App
- Select and download the app.
Step 6- Adding A Device to HikConnect
After the Hik-Connect App is installed you will need to add the device. The device can be added by scanning the QR Code located on the device or manually. To manually add the device you will need the Serial Number.
- In the web interface of the NVR, navigate to System then System Settings.
- Locate the Serial No. Field.
-
Locate the 9-number string in the field – for example, the bold numbers below.
- DS-7716NI-I4/16P1620161109CCRR671108688WCV
- Select the + symbol in the top right of the screen.
-
Select Scan QR Code or Manual Adding
- If using Scan QR Code scan the code.
- If using Manual Adding use the 9-digit number as shown above
- Select Add
- When prompted, enter the Verification Code that was programmed in the NVR in Step 3. If you skipped that step go back to Step 3.
- Select OK
- Once the device is added select Skip
Step 7- Live View
Now that the device has been added to the app, you can view the cameras via the phone.
- Select the device
- Select the cameras to view
- Start Live View
Step 8- Device Sharing
You can share access to this device with other users. Each user will need their own Hik-Connect account as shown in Step 4. To enable sharing complete the following steps.
- In the Hik-Connect app select More… at the bottom of the screen
- Select Manage Sharing Settings
- Select Share Device
- Enter the email address or phone number of the other account used to create their Hik-Connect account
- Select the + symbol next to the Device
- Select the device to share then select OK
- Select the device to open it and select the cameras that the user can view
- Expand each camera to view the options such as Live View
- Click Save