Deciding what camera resolution is right for your application isn’t complicated, but it can be confusing if you’re not familiar with best practices. Here are three quick steps to make sure your video surveillance system is capturing the needed detail in a scene, without incorporating pricey high-megapixel cameras your customer doesn’t necessarily need.
Finding DORI
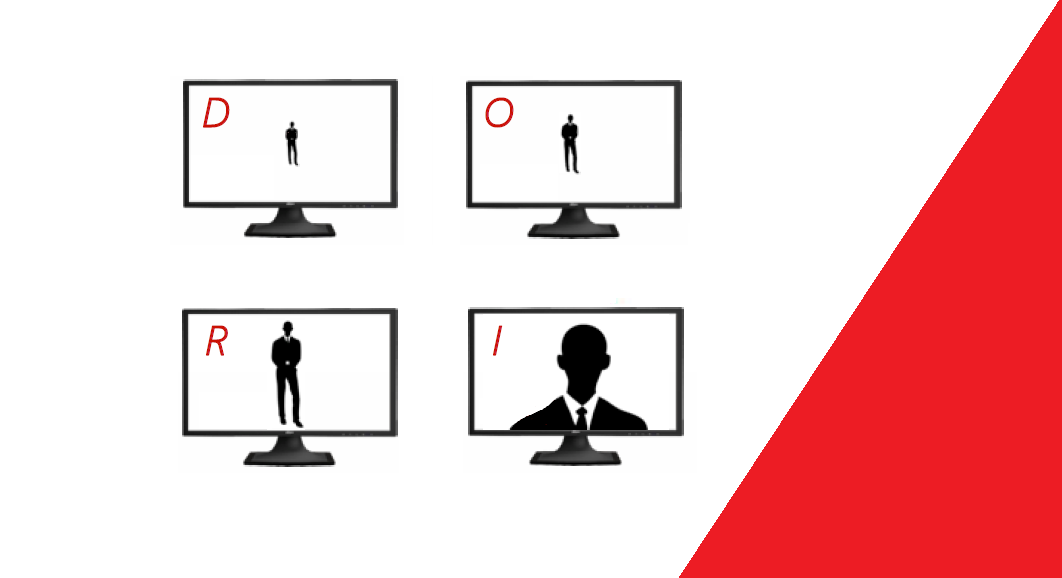
What level of detail does the security application require? Detection of a person? Verification of activity? Positive ID of a stranger? DORI (Detection, Observation, Recognition, Identification) is championed by the British Security Industry Association and the Department of Homeland Security to delineate categories of identifiable information.
The detection level allows for reliable and easy determination of whether a person or vehicle is present. It requires 10 Pixels Per Foot (PPF).
The observation level gives characteristic details of an individual, such as distinctive clothing, while allowing a view of the activity surrounding an incident. It requires 20 PPF.
The recognition level determines with a high degree of certainty whether an individual shown is the same as someone that has been seen before. It requires 40 PPF.
The identification level enables the identity of an individual beyond a reasonable doubt. It requires 80 PPF.
Calculating Pixel Density
Now that you know how many PPF you need, it’s time to calculate pixel density. Simply divide the horizontal pixels of the camera resolution by the Field Of View in feet (FOV) of the observed scene. For example, a 4-megapixel camera with 2,688 horizontal pixels used to cover a loading dock with a 100-foot FOV, pixel density would be approximately 27 PPF.
Selecting a Camera
Remember that other factors – such as lens, lighting, compression, and camera placement – impact the clarity of the image. Environmental and weather conditions should be considered as well. Be sure to take this into account. Dahua’s FOV calculator makes it easy to include the install angle and focal length in your calculation as well.
Before rushing to install a higher-megapixel camera, consider the scope of the entire surveillance system. Perhaps you only need a high-megapixel camera at the entrance of the location, to accurately identify people’s faces, and can use lower-megapixel cameras to monitor activity.
Using these calculations and specifications, you will have confidence that your security camera will cover the area you need to monitor at the level of detail required for that location. In this way, you can meet your customer’s viewing requirements while ensuring they’re not overpaying for equipment.
Now that you know how to calculate resolution, find out how to pick the best lens for your installations.
Bonus – Another Resolution Fact to Know
4K vs. 8MP
A side note when discussing high-megapixel cameras: the technical differences between 4K and 8MP are so minute that the two are effectively interchangeable, as far as security installations are concerned. The term “4K” originated in broadcast television to refer to 3840 x 2160 resolution at thirty or sixty frames per second. The actual total number of pixels of a 4K sensor would normally be about 8.3MP. Technically an 8MP camera could mean any pixel array that equals around eight million pixels. It wouldn’t necessarily have to be 3840 x 2160, but many times it is. An IP security camera usually has a frame rate of twelve to twenty frames per second – not thirty to sixty – but many security manufacturers call their 8MP cameras “4K” simply because either the total pixels are eight million, or the sensor array is 3840 x 2160.

